
 Deutsch
The previous blog post entitled: Ask the Product Manager: Are real rock crystals used for production of oscillating quartz crystals? covered the initial stages in the production of these small clocks. Quartz is artificially grown in autoclaves, reaching a weight of several kilos.
From this point, however, we are still a few production stages away from the tiny components that will eventually be positioned on the plates. Where do we go from here?
From quartz block to quartz wafer
First of all, the reference plane Z of the block is surface-ground. After grinding, the Z-plane of the quartz block is precisely defined and the block can be further processed.
Now, so-called quartz wafers are cut from the block. The direction of sawing is along the X-axis. The seed is also cut out. We recall: This is then reused for cultivating synthetic quartz.
From quartz wafer to quartz blank
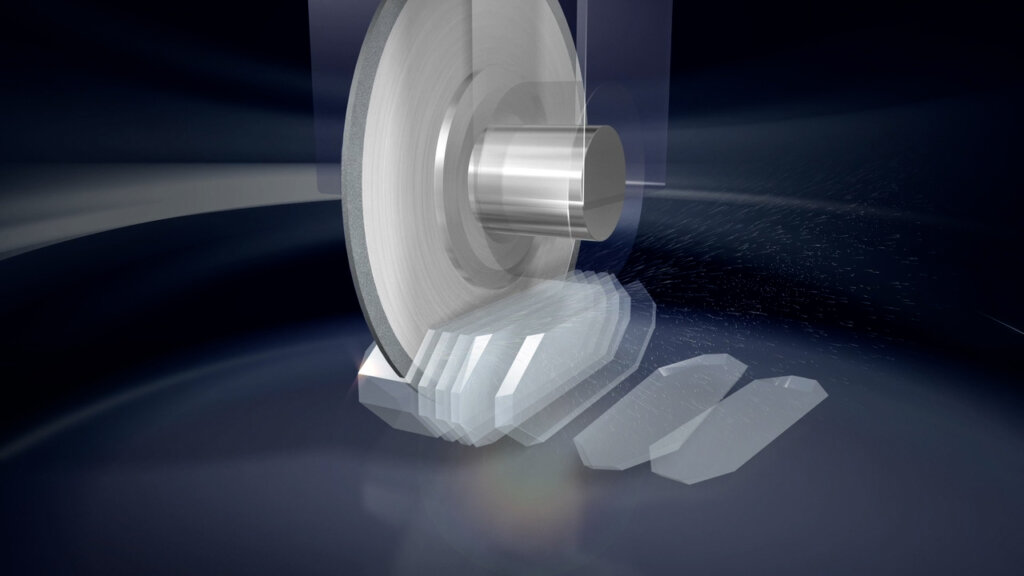
Now, small crystal blanks are cut from the wafer. The desired cutting angle here is 35 ° – this is also referred to as the “AT cut”. Read about why this particular cutting angle is important here.
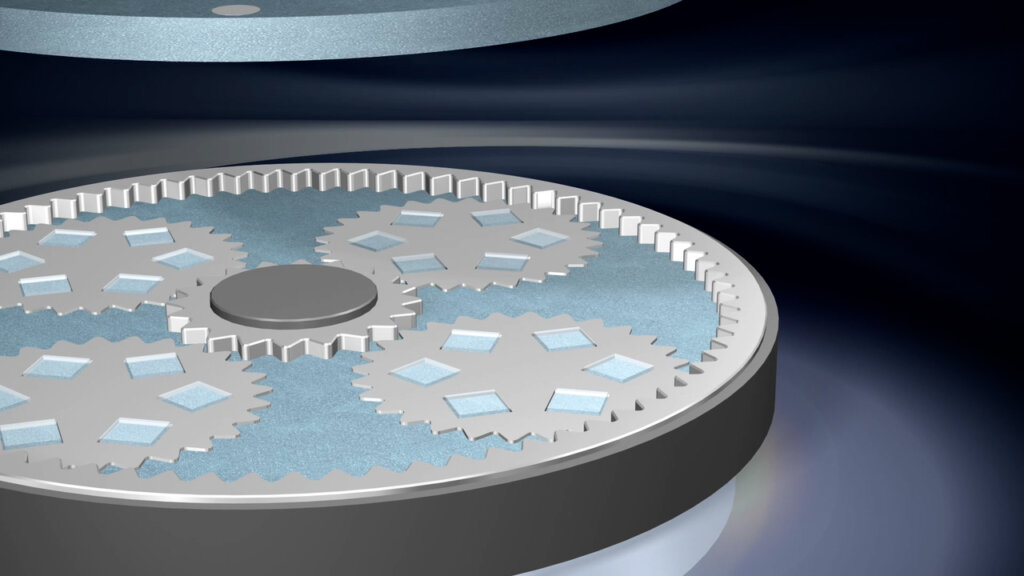
The quartz blanks are then lapped in a plane-parallel manner until the desired thickness is achieved. This depends on the frequency that the blanks should have at the end of the process. The frequency that is aimed for during this production stage is usually slightly below the final target frequency. The lobed blanks are now cut into raw blanks and subjected to grinding once again.
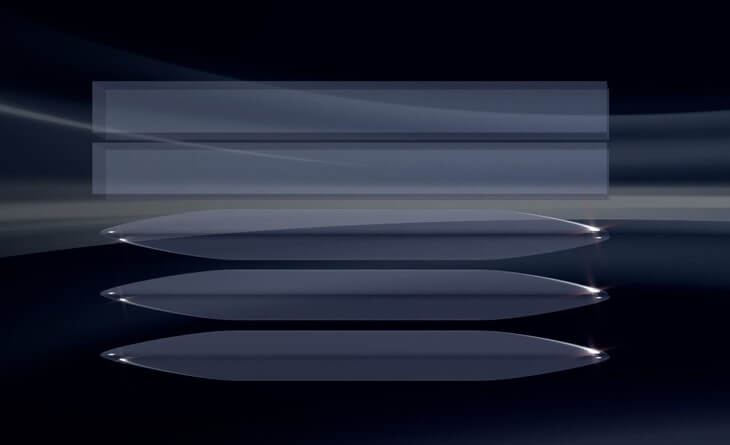
The next processing stage is called “beveling”. Once this is complete, the quartz blank is in the shape of a cushion in cross-section. However, the visual effect is not the reason for the process, at least not directly: On the one hand, this shape enables easier installation in holder systems and, on the other hand, the vibrating area of the blank is reduced. This avoids spurious resonances. More details and background on this production stage can be found here.
Attaching the electrode
After the frequency has been checked using X-rays, the quartz blanks are washed. The components are thereby optimally prepared for the application of the electrode. Again, the blanks are sorted according to their frequency, and even at this stage they should still be slightly above their target frequency. Why? Attaching the electrode reduces the frequency somewhat, which must therefore already be taken into account in the preceding stages.
Finally, the electrodes are still missing. They are vapor-deposited through a stencil – a process also referred to as “sputtering”. The blank is now ready and can be mounted in the housing.
We’ll take a closer look at the final stages in the next blog post: From assembly to the final product – the last stages in the quartz manufacturing process


